
Docker technology can never replace the concept of virtualization but has got its own special benefits. The ability to run an application by consuming minimalistic resources is just mindboggling. The feature of complete isolation is an everyday requirement for most of us.
Recently I was creating challenges for winjactf 2021. And all the challenges had to be dockerized. Since I was doing it for the first time, I faced several issues. I felt that any beginner would get into similar troubles so I thought of blogging out the scenario where I made some stupid mistakes, but yes learned a lot in solving them.
With this post, I’ll be sharing some must-know commands in docker that will surely solve lot of your problems.
So let’s jump in.
Basic commands
docker container ls
docker image ls
docker ps
docker ps -a
docker run -it -p 8080:80 ubuntu:latest --name ubuntu-machine /bin/bash
docker exec -it ubuntu-machine /bin/bash
This is a probably the complete set of commands, that we use on daily basis.
Let’s see a brief explaination for all of them.
- container ls :- lists all the running containers
- image ls :- lists all the images residing over the machine
- ps :- tells you about all the active processes
- ps -a :- Gives you additional information like details about the process that exited.
- run -it :- This command starts a container. If the specified image is not present, it will pull it from the official docker repository (docker hub).
- -p :- it maps the internal port of the docker to the host. For example, -p 8080:80 will map the internal port 80 to the 8080 of the host machine. So when u write, http://localhost:8080, you are actually accessing the web service on container running on port 80.
- –name :- gives a name to your running container.
- -v :- It maps the volume on the host machine to the container. Meaning? You can think of it as a shared disk space. This flag is used when u have to persist the state of a container.
- /bin/bash :- Its the command that you want to run in the container. You can also write “whoami” to just print the current user, or directly get shell access with /bin/bash.
- -d :- Run the container in background
- exec -it :- It executes commands in an already running container.
But there’s more to it….
The commands listed above might solve most of your purpose. But, the endless possibilities of docker got me into more of digging! While working, I came across a few interesting commands that I want to list.
docker container stop 9c
You see something different? The 9c. Its the initials of the container id that might be something of the form :- 9c13df3fd. So instead of copy-pasting you can simply type the initials and your docker command will know which container is being referenced. Same thing works when you are removing the image.
Want to start a stopped container? You can do it by
docker start -a my-container-name
Running out of space because of containers?
When the purpose of the container is served, it’s better to remove it. Because a lot of 1 GB containers are gonna eat up huge space. Remove images too, that are not in use.
docker container prune # Removes all the stopped containers
docker rm docker ps -aq # Removes all the stopped containers (alternative)
You can check the amount of space that can be reclaimed due to unused images, run
docker system df
Delete images with command
docker image rm 9c -f
docker rmi 9c # Removes and untags images from the host
Use -f if you want to force the delete operation. Here, the reason may be that multiple images are linked together.
Want to submit your container to docker hub?
You read that right! Anyone can submit their container to docker hub for free. It can be an easy way to share your work. Someone else can easily setup your environment with a docker pull.
Sign-up with dockerhub and click to create a repository. You will get this page.
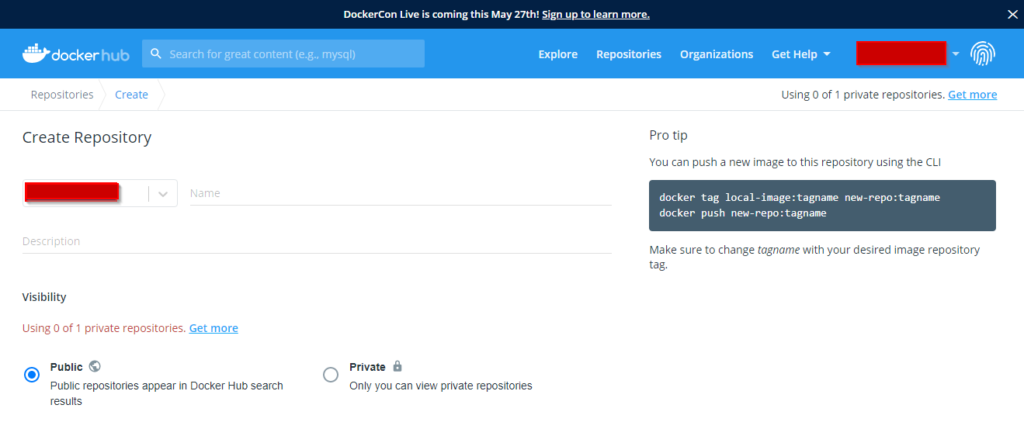
With the free version, only 1 repo can be created. But obviously, you can use multiple tags to different images that you want to upload.
You dont want the hassle of uploading to dockerhub?
Lets say , You built a web application that you wanna share with your friends. When your container is up and running with all the desired stuff, you just need to save the state of your container. Wondering how to do that?! Its just a command away.
docker commit <running-container-id> image-name:tag
This command will create a new image from the base image that you had chosen to build your application.
Note: Everything in docker is layered. When a new image is committed, new layers are added to the existing ones.
Now once you have the new image, you can directly push it to docker hub.
You can also create a tag TARGET_IMAGE that refers to SOURCE_IMAGE
docker tag source_imag:tag target_img:tag
Now simply run a docker push command to push to docker registry.
docker push target_img:tag
When you own a private repository, the hostname has to be preceded in the docker tag and docker push command. Example:- docker push example.com/target_img:tag
From image to tar file
Do you know, you can also convert an image to a tar file and move it around like a normal file? The command below makes it possible
docker save myimage:latest > myimage.tar
Similarly, you can load an image from the tar file using
docker load --input myimage.tar
Dealing with dockerfiles and docker-compose.yaml?
Dockerfiles are just like the script files that will just run whole thing in a go. Anyone with a dockerfile can replicate your whole container. Much handy than the tar file right?!
docker-compose file come into play when your environement requires more than one service (ie more than one container). In compose files, you basically specify the configurations corresponding to different containers that will be spawned up like env variables, port mappings, volume mappings.
To build an image from dockerfile, run
docker build -t myimage .
The “dot” corresponds to the path of the dockerfile ie the current working directory.
Then following commands are generally used with the docker-compose files
docker-compose build   # builds images from corresponding dockerfiles
docker-compose up   # Starts the comtainers
docker-compose down   # Stops the containers
docker-compose down --remove-orphans # Remove containers for services not defined in the compose file
Mistakes I made while creating challenges.
Let’s suppose, you want to create a challenge that requires the use of ssh service.
Initially, I made the mistake of choosing the standard images like ubuntu (for docker) and I used to install ssh using the package manager apt. If I had a requirement for another service like http, I used to install it again with apt on the same container of ubuntu and saved the state as the final image.
Everything works fine in the above scenario, only if you have a shell inside the container. In the cases, when you are required to automate the whole process, this approach won’t really work. Automation as in that you have a dockerfile or a newly committed image and you should just be able to run the container without any additional docker exec commands. If your application requires you to execute commands after running the container from the image, that means that you did something wrong in the configuration. I’ll explain why these commands fail while automating stuff.
Reason
After the completion of the main process, the container exits. The scripts that are run in Dockerfile’s CMD are written such that it wont run forever. And a container requires some foreground process to be running continuously in order to be in a running state. There are a lot of fixes available here, but I don’t find it to be the best way to do things.
If you still want to enclose everything in a single container, follow up this post- https://docs.docker.com/config/containers/multi-service_container/
The correct way
If your challenge involves multiple services, the correct wayout is to have a separate container for each service. The base images of these services on dockerhub are built such that on the creation of the container , corresponding services are automatically started.
For web service we require httpd image from the dockerhub.
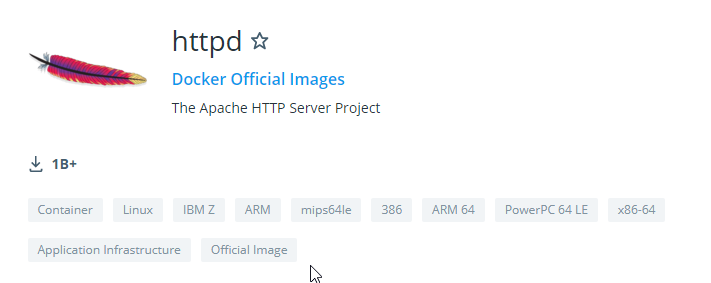
You can choose from various tags are available for httpd that matches your requirements. Always go through the documentation for any service image that you wanna pull. It gives a lot of information about the usage of the image!
You can enable networking between all of your services using docker-compose files. It binds all the containers and gives you a single environment. I will cover the dockerfile and docker-compose file essentials in the follow-up post.
Images to use when you create your applications
I found that some of the popular dockerhub images were creating configurational problems while i was implementing them into challenges
I want to collate a list of all the docker images that i used for different services.
- Mysql : https://hub.docker.com/_/mariadb [The mysql dockerhub image has got some limitations like I faced troubles while setting up the root password for db]. Mariadb image is much stable in every situation.
- http : https://hub.docker.com/_/httpd [Choose from the enormous tag that is apt for your use-case]
- ssh : https://hub.docker.com/r/rastasheep/ubuntu-sshd/dockerfile
- The default image (openssh-server) didn’t served my purpose. I had to create new users, set suid bit on a binary, and had to make sure that any file doesn’t get deleted (esp flag.txt).
- tomcat: https://hub.docker.com/_/tomcat [Choose from the various tags that serves your purpose]
What not to use while building upon docker
Unless its too urgent, try avoiding the use of ftp docker image. Why? The way that service works in docker takes a lot of open ports as a pre-requisite. And having a lot of open ports is a bad thing….
Epilogue
I hope you learned something new today around docker and would have learned from my mistakes. I will continue to post my findings on docker. Comment, if you prefer to learn about any specific topic.
Thats all for this blog post! Hit like button if you enjoyed reading the post!
See you in the next one! Until then, happy learning!!!


Great!
thank you!