Web application penetration testing is one of the favourite topic to security enthusiasts and security researchers. But for a layman, testing a live web application can become sometime dangerous as they don’t have enough of experience of how it all works. And most importantly, testing something that is out of the scope is illegal.
So DVWA, provides you with the environment of testing a live web application, but this web application is hosted locally on your on computer. And its totally legal to do anything with this web application.
Here are the steps that u need to follow in order to set up DVWA on kali linux:-
- The DVWA can be downloaded from here http://www.dvwa.co.uk/
- You need to install apache web server(for site hosting) and mysql(For the database creation) on the kali. #sudo apt-get install apache2 , #sudo apt-get install mysql-server
- Now the DVWA folder that you have downloaded needs to be copied inside /var/www/html. Your html directory may contain index.html file. You can delete that.
- There is a bit of configurations required in the files in dvwa folder.
- The very first thing is to give full permission to every file/folder inside dvwa. This can be done by #chmod -Rv 777 dvwa/
Note: if you are installing mariadb instead of mysql, then you cannot be a root user for logging into the database.
Now type the following commands in order to create a user
#mysql -u root
#create user user@localhost IDENTIFIED BY ‘password’
#GRANT ALL PRIVILEGES ON *.* TO user@localhost
By doing this we create a new user and grant him all the permissions to do anything with the mysql database.
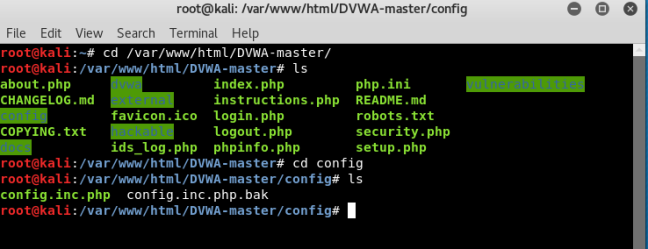
Now change directory to dvwa/config. In that rename the file config.inc.php.dist to config.inc.php Now open this file in an editor, and change the value of the variable of username and password as you have set and save it.
just type in 2 commands to start the apache and mysql services.
#service apache2 start
#service mysql start
Now open up your favourite browser and type in localhost. A login page will pop up . The user name and password are admin and password respectively.

The final application looks like this

So once you are done with setting of the localhost, you can perform various penetration test like brute forcing, CSRF, File inclusion, File upload, XSS, SQL injection, etc.
PS: This blog is moved from an old domain(techishot.wordpress.com)